Creating a dedicated charging station for your devices can simplify your daily routine and keep your space tidy. With the proliferation of smartphones, tablets, wearables, and other gadgets, it’s easy to end up with tangled cords and cluttered surfaces. Setting up a well-organized charging station ensures that all your devices stay powered and ready to use without the hassle.
In this guide, we’ll walk you through the process of setting up a charging station that is practical, safe, and fits seamlessly into your home or office.
Why Set Up a Charging Station?
Before diving into the setup, it’s helpful to understand the benefits of having a charging station:
– Organization: Keeps cables and devices in one place, reducing clutter.
– Convenience: Provides a dedicated spot to charge multiple devices simultaneously.
– Safety: Helps prevent overheating and reduces wear on charging equipment.
– Efficiency: A central hub makes it easier to find your devices and chargers.
What You’ll Need for Your Charging Station
Having the right materials before you start makes the process smooth. Consider gathering:
– A power strip or surge protector with multiple outlets
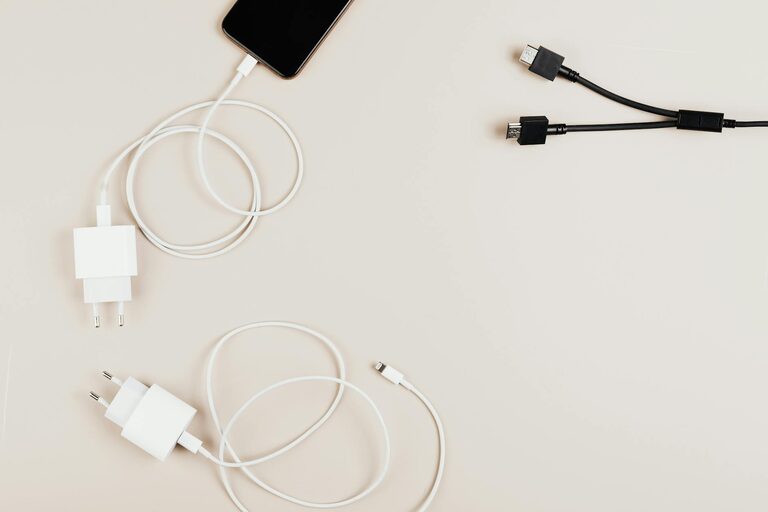
– Charging cables compatible with your devices (USB-C, Lightning, Micro USB, etc.)
– USB charging hub or multi-port USB charger
– Cable management tools (clips, ties, sleeves)
– A sturdy surface like a small table, shelf, or drawer
– Optional: charging station organizer box or dock
Step 1: Choose the Best Location
Select a spot that’s convenient and accessible for everyone who needs to charge devices. Common locations include:
– Living room side table
– Home office desk
– Bedroom nightstand
– Kitchen counter corner
Make sure the location has access to a nearby power outlet to plug in your chargers and power strip.
Step 2: Assess Your Devices and Charging Needs
Take inventory of all the devices you want to charge regularly. This may include:
– Smartphones
– Tablets and e-readers
– Smartwatches and fitness trackers
– Bluetooth earbuds or headphones
– Portable gaming devices
Knowing the quantity and types of devices helps to choose an appropriate charging solution that can handle the number and types of connectors you need.
Step 3: Select a Charging Hub or Power Source
Instead of plugging devices into multiple adapters, use a charging hub or multi-port USB charger. Benefits include:
– Reduces the number of wall plugs used
– Often includes fast charging options
– Supports charging several devices at once
When selecting a charging hub, check:
– The number of ports it offers
– Compatibility with your device chargers
– Safety certifications for quality assurance
Step 4: Organize and Manage Your Cables
Cable clutter is one of the main reasons charging areas get messy quickly. Use these tips to keep cables neat:
– Use cable clips or mounts to hold cables in place on the surface
– Label cables with tags or colored markers for easy identification
– Employ cable sleeves or wraps to bundle similar cables together
– Shorten extra cable length with velcro ties or twist ties
Organizing cables not only looks cleaner but also extends their lifespan by preventing tangles and damage.
Step 5: Arrange and Personalize Your Station
Place your charging station components thoughtfully:
– Keep the charging hub or power strip within easy reach
– Position devices so screens or controls are easily visible and accessible
– Use a charging dock or stand for phones and tablets to save space
– Add small containers or trays to hold smaller accessories like earbuds or adapters
Consider personalizing your setup with decorative elements that fit your style, such as a stylish box, a wooden stand, or a minimalist organizer.
Step 6: Safety Considerations
To ensure your charging station is safe:
– Avoid overloading power strips or outlets
– Use chargers and cables that meet safety standards
– Keep liquids far away from the charging area
– Ensure good ventilation to prevent overheating
– Unplug devices once fully charged if possible
Regularly inspect cables and chargers for any damage and replace them when necessary.
Additional Tips for Maintaining Your Charging Station
– Regularly clean the station to remove dust, which can accumulate around devices and chargers.
– Update cables if you get new devices or if old cables become worn out.
– Educate family members or housemates on how to use the station properly.
– Label charging spots if multiple users share the station to prevent mix-ups.
Final Thoughts
Setting up a charging station might seem like a small task, but it can significantly improve your device management and overall organization. Whether you place it in your living room, bedroom, or workspace, a dedicated charging station reduces clutter and ensures your gadgets stay powered and ready when you need them.
With a little planning and the right tools, you can create a stylish and functional charging station tailored to your lifestyle. Happy charging!